
Delicious Fermented Products You Can Make at Home
Posted by Editor on Mar 18th, 2019 in Food | 0 commentsFermented foods have recently made a comeback, and more people are now starting to ferment their own food at home. And it’s not just great for your body – it’s also great for your budget if you love the stuff but can’t keep buying it.
In fact, here are some of the different fermented products you can start making at home right now:

Kimchi
This spicy Korean side dish made of vegetables is perhaps the most recognized fermented dish in the world, which is great if you have a knack for spicy foods, but it’s also really easy to make in your own kitchen.
When making kimchi at home, be sure to use sea salt (or salt that isn’t iodized or doesn’t have anti-caking agents), as this can prevent fermentation from taking place.
Sauerkraut
What do you do when you find yourself with a bunch of cabbages? Why, you make sauerkraut, of course!
Known basically everywhere for its crunch and pleasant sourness, it’s amazing both as a side dish and as a spread in sandwiches for a quick, healthy bite whether it’s for breakfast or a light snack.

Kombucha
With a lot of kombucha flavors commercially available, it’s easy to forget that this is essentially tea that’s mixed with sugar.
And when you’re the one making it yourself, not only will you get this treat for a fraction of what you would usually pay for it, but you can also play around with different teas and fruits until you find the flavor that works for you.
Sourdough Bread
Sourdough bread is made differently than other types of bread because it uses dough that’s been allowed to ferment with wild yeast and naturally-occurring bacteria that break down the gluten in wheat flour.
Not only is this great to make and keep around if you happen to be sensitive to gluten, but it’s also rich in minerals such as iron, calcium, and magnesium.
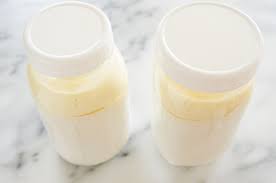
Milk Kefir
While not exactly yogurt – milk kefir, or fermented milk, is a little more watery – it has between twenty and sixty probiotic strains and contains more nutrients than you would find in a cup of regular yogurt.
And because it’s fermented, as much as 99 percent of all the lactose in milk has been broken down by the bacteria, which makes it safe for those who are especially sensitive to dairy products.
These are just some of the many dishes you can start making at home – there are a lot more that you need to try out. Not only are they all delicious and healthy for your whole family, but making them also means you have cheap, nutritious food all year long.
How to Ferment Your Own Vegetables in 4 Easy Steps
Posted by Editor on Mar 18th, 2019 in Food | 0 commentsFermenting vegetables is made possible with lacto-fermentation, a process of preserving food that allows it to retain its nutrients for a long time. This is a great way for keeping nutritious food at home easily accessible all year round, especially with fresh produce.
And while it seems intimidating at first, the process of fermenting vegetables is actually simpler than you would think. All you need to do is follow these steps:

1. Choosing Your Equipment
Fermenting vegetables only needs a container (preferably a glass jar) with an airtight lid, and a good chopping knife to get the vegetables to the right size that will allow them to ferment more easily.
2. Preparing the Vegetables
One of the best things with fermenting is that you can do it with any vegetable. You can choose to grate, shred, chop, slice, or even leave it whole. You can even ferment different vegetables in the same container!
3. Choosing Your Brine
There are three different brines that you can use: salt, salt and whey, or a starter fermenting culture (these are used for fermenting different vegetables and producing different finished products, but work more or less in the same way).
If you plan on using salt for fermenting, be sure to focus on the right kind of salt, as well as the right amount for the brine. Once done, prepare your brine with water.

4. Culture and Cold Storage
Weigh the vegetables under the brine and keep them in an environment without air for the fermentation process (that means keeping the lid sealed tight). Once the vegetables have finished fermenting, place them in a refrigerator or in any cold storage place.
However, because it can be difficult to tell when the vegetables are ready for cold storage, be sure to take note of the following:
• Aroma – Smell will be your biggest indicator for knowing if your vegetables are still good or have gone bad. If it’s still good, they should release a sour, vinegary aroma.
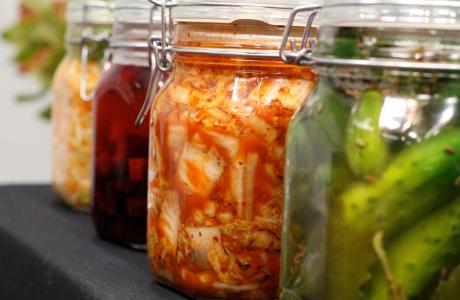
However, if your vegetables smell like spoiled food, you should discard it. Be sure to clean your container thoroughly and try again.
• Bubbling – Lactic acid bacteria release gases when breaking down the vegetables, and seeing bubbles is often a good sign that your fermentation is going well.
• Flavor – Once the vegetable ferment appears bubbly and has that sour-but-pleasing aroma, do a taste-test. Be sure to do this every day until you come across the flavor you like.
Fermenting food is a process that has been around for a long time, and when you plan on getting started, keep in mind it’s going to take a while to get to the finished product. However, once you do, the results will be both delicious and certainly rewarding.
5 Things At Home That You’re Cleaning Way Too Often
Posted by Editor on Feb 21st, 2019 in Home | 0 commentsIf you’re someone who doesn’t like doing housework at all, there’s good news – your list of chores is about to be so much smaller.
Enter the concept of “over-cleaning”: while it’s important to keep everything clean and tidy, cleaning certain items too frequently can wear them down or make them more prone to the build-up of dust, dirt, and even bacteria.
Here are five things at home that you’re paying too much attention to when cleaning:

1. Wood furniture
Shelves, tables, and chairs are easily the first places you would think of when it comes to cleaning and dusting, and this is usually not a problem with plastic furniture.
However, if the ones you have at home happen to be made of wood, over-cleaning with water and cleaning products can actually lead to damage and warping in the long term, especially if you clean them frequently.
2. Jeans
Jeans are actually made to withstand long periods of time without being washed, and break down and start to lose their shape when cleaned too often.
But the good news is you can clean your jeans without a single drop of water: place them in a canvas bag and put them in your freezer overnight. This will kill the bacteria from skin cells without damaging the fabric itself.
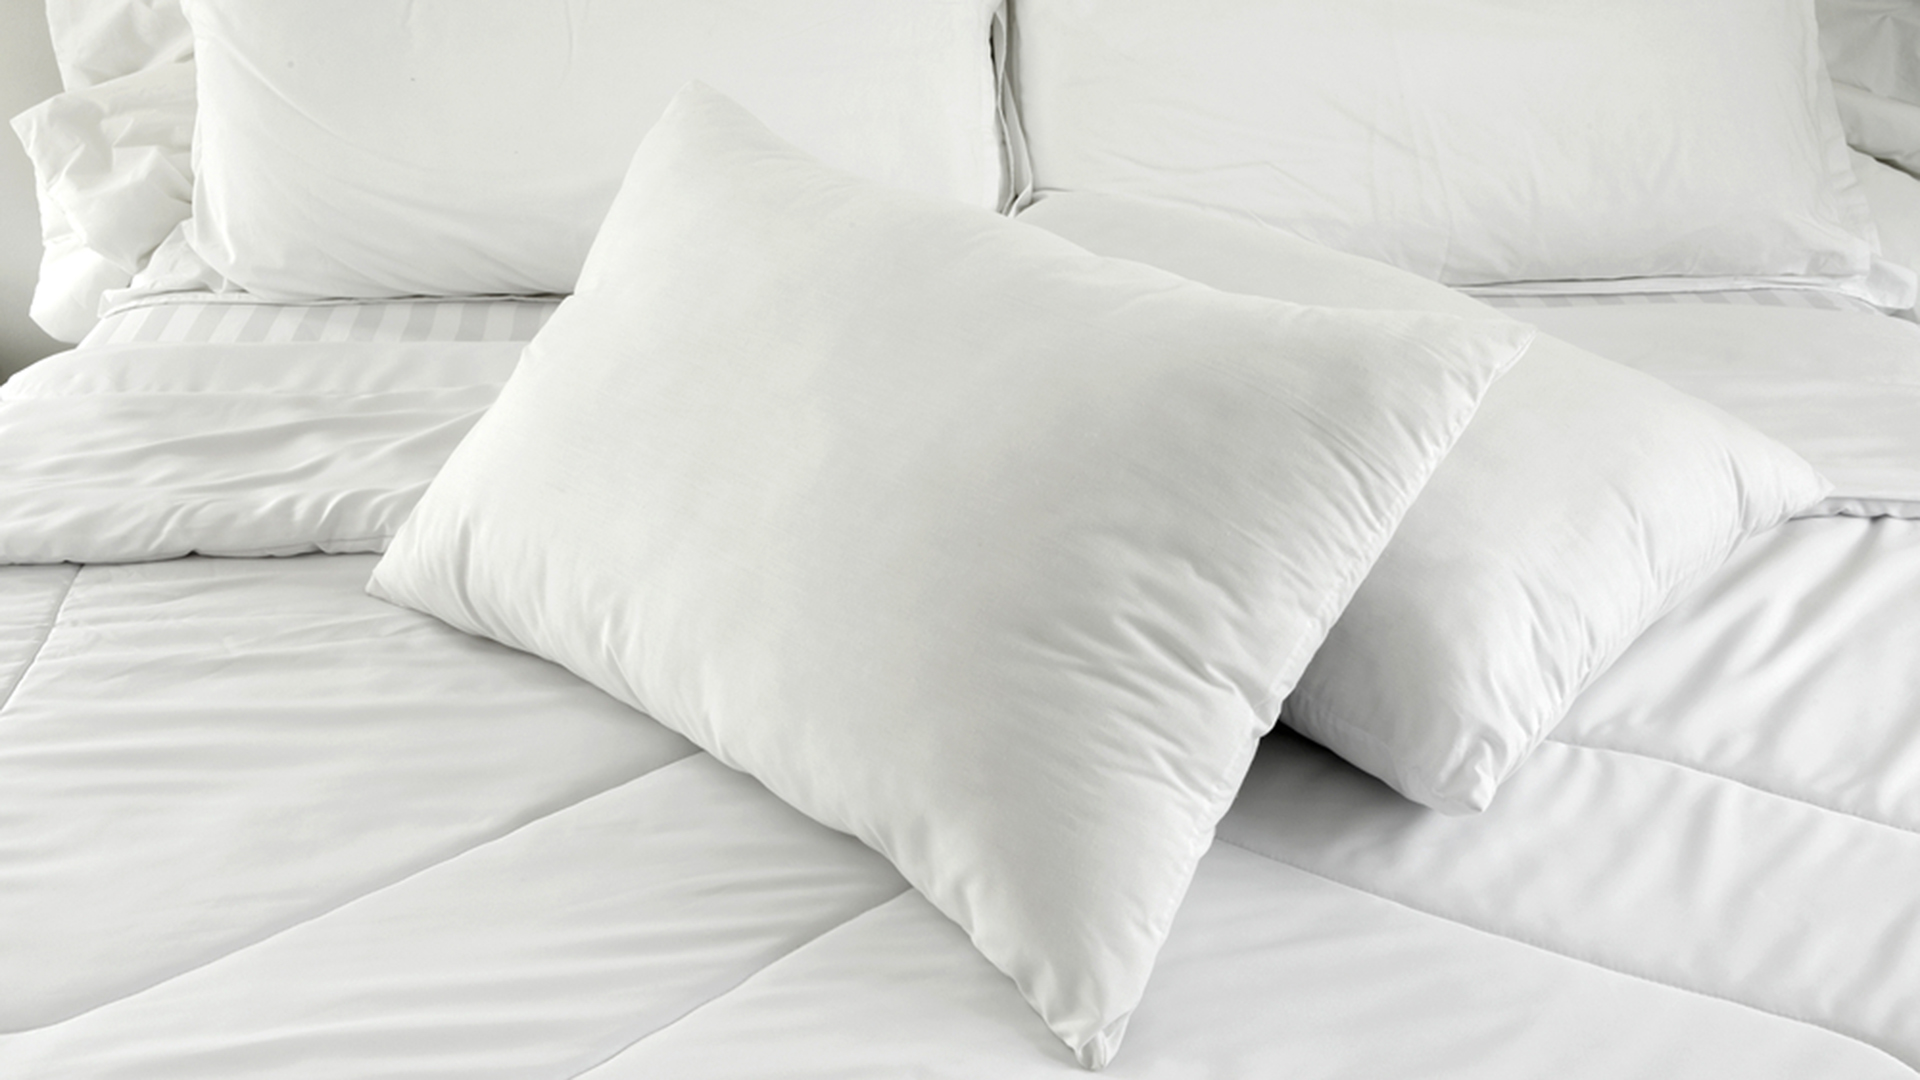
3. Pillows
While your pillowcases should be replaced every week, you can most likely forgo washing the pillows themselves for three to six months.
If you need to have your pillows cleaned, send them to a laundry service or have them tumble-dried in a washing machine on low heat. You can do this twice a year so the pillows will keep their shape longer.
4. Pantry
If you have a pantry of canned or preserved foods at home, you can rest easy since you only need to clean it and take note of any expired food items once a month. Unlike your refrigerator, your pantry houses items that are airtight or dry, and will likely to last you a long time.
Instead, your refrigerator should be the main point of your focus when cleaning since it stores foods that are easily perishable.
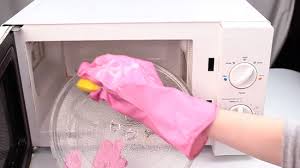
5. Oven/microwave
While it’s important to regularly scrape your oven or microwave to make sure that no food scraps stick and accumulate, you can probably skip out on the deep-cleaning and do it only once every four months.
When you do deep-clean your oven or microwave, be sure to only use water and gentle dish soap, and avoid continuously lathering it using harsh commercial cleaners. You should keep this in mind particularly if you have a self-cleaning oven at home.
3 Amazing Home Cleaning Tips for Allergy Sufferers
Posted by Editor on Feb 21st, 2019 in Home | 0 commentsDo you have an allergic reaction to dust? Is your home making it worse for you?
If this is the case, and if you happen to live alone, it’s time to do the cleaning yourself. But don’t worry – just because you have allergies doesn’t mean you can’t approach the problem and help yourself get better.
In fact, here are a few tips you can keep in mind when your allergies start to kick in:

1. Wear a mask when you clean
If you have to clean your home yourself, the best thing you can do beforehand is to wear a face mask that adequately covers your nose and mouth.
When you have allergies, your biggest enemy will be the airborne particles that can get in your nose. These particles are mostly dirt and dead skin cells, and especially the waste from dust mites.
Aside from covering it with a face mask, you should also make sure to avoid sweeping, dusting, or even vacuuming.
2. Baking soda and vinegar are your friends
Don’t use scented cleaning products or detergents when you have to clean, since they will only worsen your clogged sinuses. If you have to use cleaning products to get rid of any mold in your tiles at home, be sure to use unscented ones.
A cheaper alternative to them is baking soda and vinegar, two household products that can clean just about anything when mixed in the right concentrations.
Unscented bleach is also good for cleaning bathroom mold. When cleaning, however, be sure to keep in mind that you should never mix bleach with either vinegar or baking soda, since the resulting fumes can be highly toxic if you breathe them.
3. Clean the air
The best way to minimize your allergic reactions at home is to clean the air, you will need to clear up the dust around the house without moving them.
You can start doing this by lightly spritzing dusty areas at home with a water bottle and wiping them down with a clean cloth. If the cloth gets too dusty, rinse it off with water and replace it with a new one.
Investing in a high quality HEPA filter for your home is also an option if you feel that the air coming into your home is dusty no matter how hard you clean it.
Regular cleaning is the best way to make sure your allergies don’t act up severely at home, as well as provide a clean, allergen-free place for you when they do.
There are many ways to help you deal with allergies, such as over-the-counter medications, but they may not always work or have certain side effects. Be sure to consult your doctor before taking antihistamines.
How to Score Cheap Flights Other Than Waiting for Seat Sales
Posted by Editor on Jan 25th, 2019 in Lifestyle | 0 commentsWe’ve all been there: waiting for seat sales in the middle of the night, only to be faced with a crashing website just before you’re about to check out and your seat is already taken by the time you are about to make the booking again. While airline sales is one of the best ways to get great discounts, there are several other ways to save on airfare for your next trip. Here are a few tricks you should try:

1. Get an app that lets you compare prices
There are a lot of mobile applications you can use to collate and compare prices, whether for local or international flights. These apps will show you different pricing options from hundreds of airlines, as well as get tips on how to and when you should book for lower cost.
2. Go for connecting flights over direct flights
Non-stop flight are usually more expensive than those with layovers. If you have days to spare or you’re not in a rush, try booking a connecting flight with a layover somewhere. It can be an added experience to your trip, having to explore your layover destination if you have enough time. Most of the time, these flights with layovers can save you as much as half of the price of direct flights. Definitely, not bad at all!

3. Book travel packages
Sometimes, a travel agency is your cheapest solution to fix your trip for you. These agencies usually have exclusive discounts from their affiliate airlines, resorts and hotels, which can help to keep costs low. You may also want to check out websites that provides simultaneously booking of flights and accommodations.
4. Pick a mid-week flight
The lowest rates are usually those flights scheduled on Tuesdays. Weekly sales from some airlines also start during this day, too, and are pulled out on Thursdays. If you don’t mind flying in the middle of the week, you’ll surely save heaps. Weekends are naturally more expensive due to the volume of flyers who prefer this schedule.

5. Use a travel-friendly credit card that lets you collect rewards points
When planning to get a credit card and you know you’re a heavy traveler, get one with a partnered airline as this will allow you to earn points, which you can then convert into miles, every time you use your card. So, if you are a frequent flyer who pays bills and does shopping with your card, then use those rewards points for cheaper airfare.
Travelling need not to be expensive, but plane tickets often are. Hopefully, though, with these tips, we were able to help you save from your airfare and have more resources to spend on activities.
